
How To Register Your Business On Apple Maps
Most businesses use Google My Business to have their business show up on google search results and google maps, but did you know you can also register your business to show up on Apple Maps?
** Please note you will need an Apple ID to complete this process.
Google My Business is a great way to have your business show up on google and it can really help increase your visibility on google search and maps. It can also help build trust with potential clients by having your social proof show up via google reviews.
Apple Maps, at the moment, doesn’t really have the features that GMB can offer but having your business registered on more platforms, can help build your online presence and this is never a bad thing.
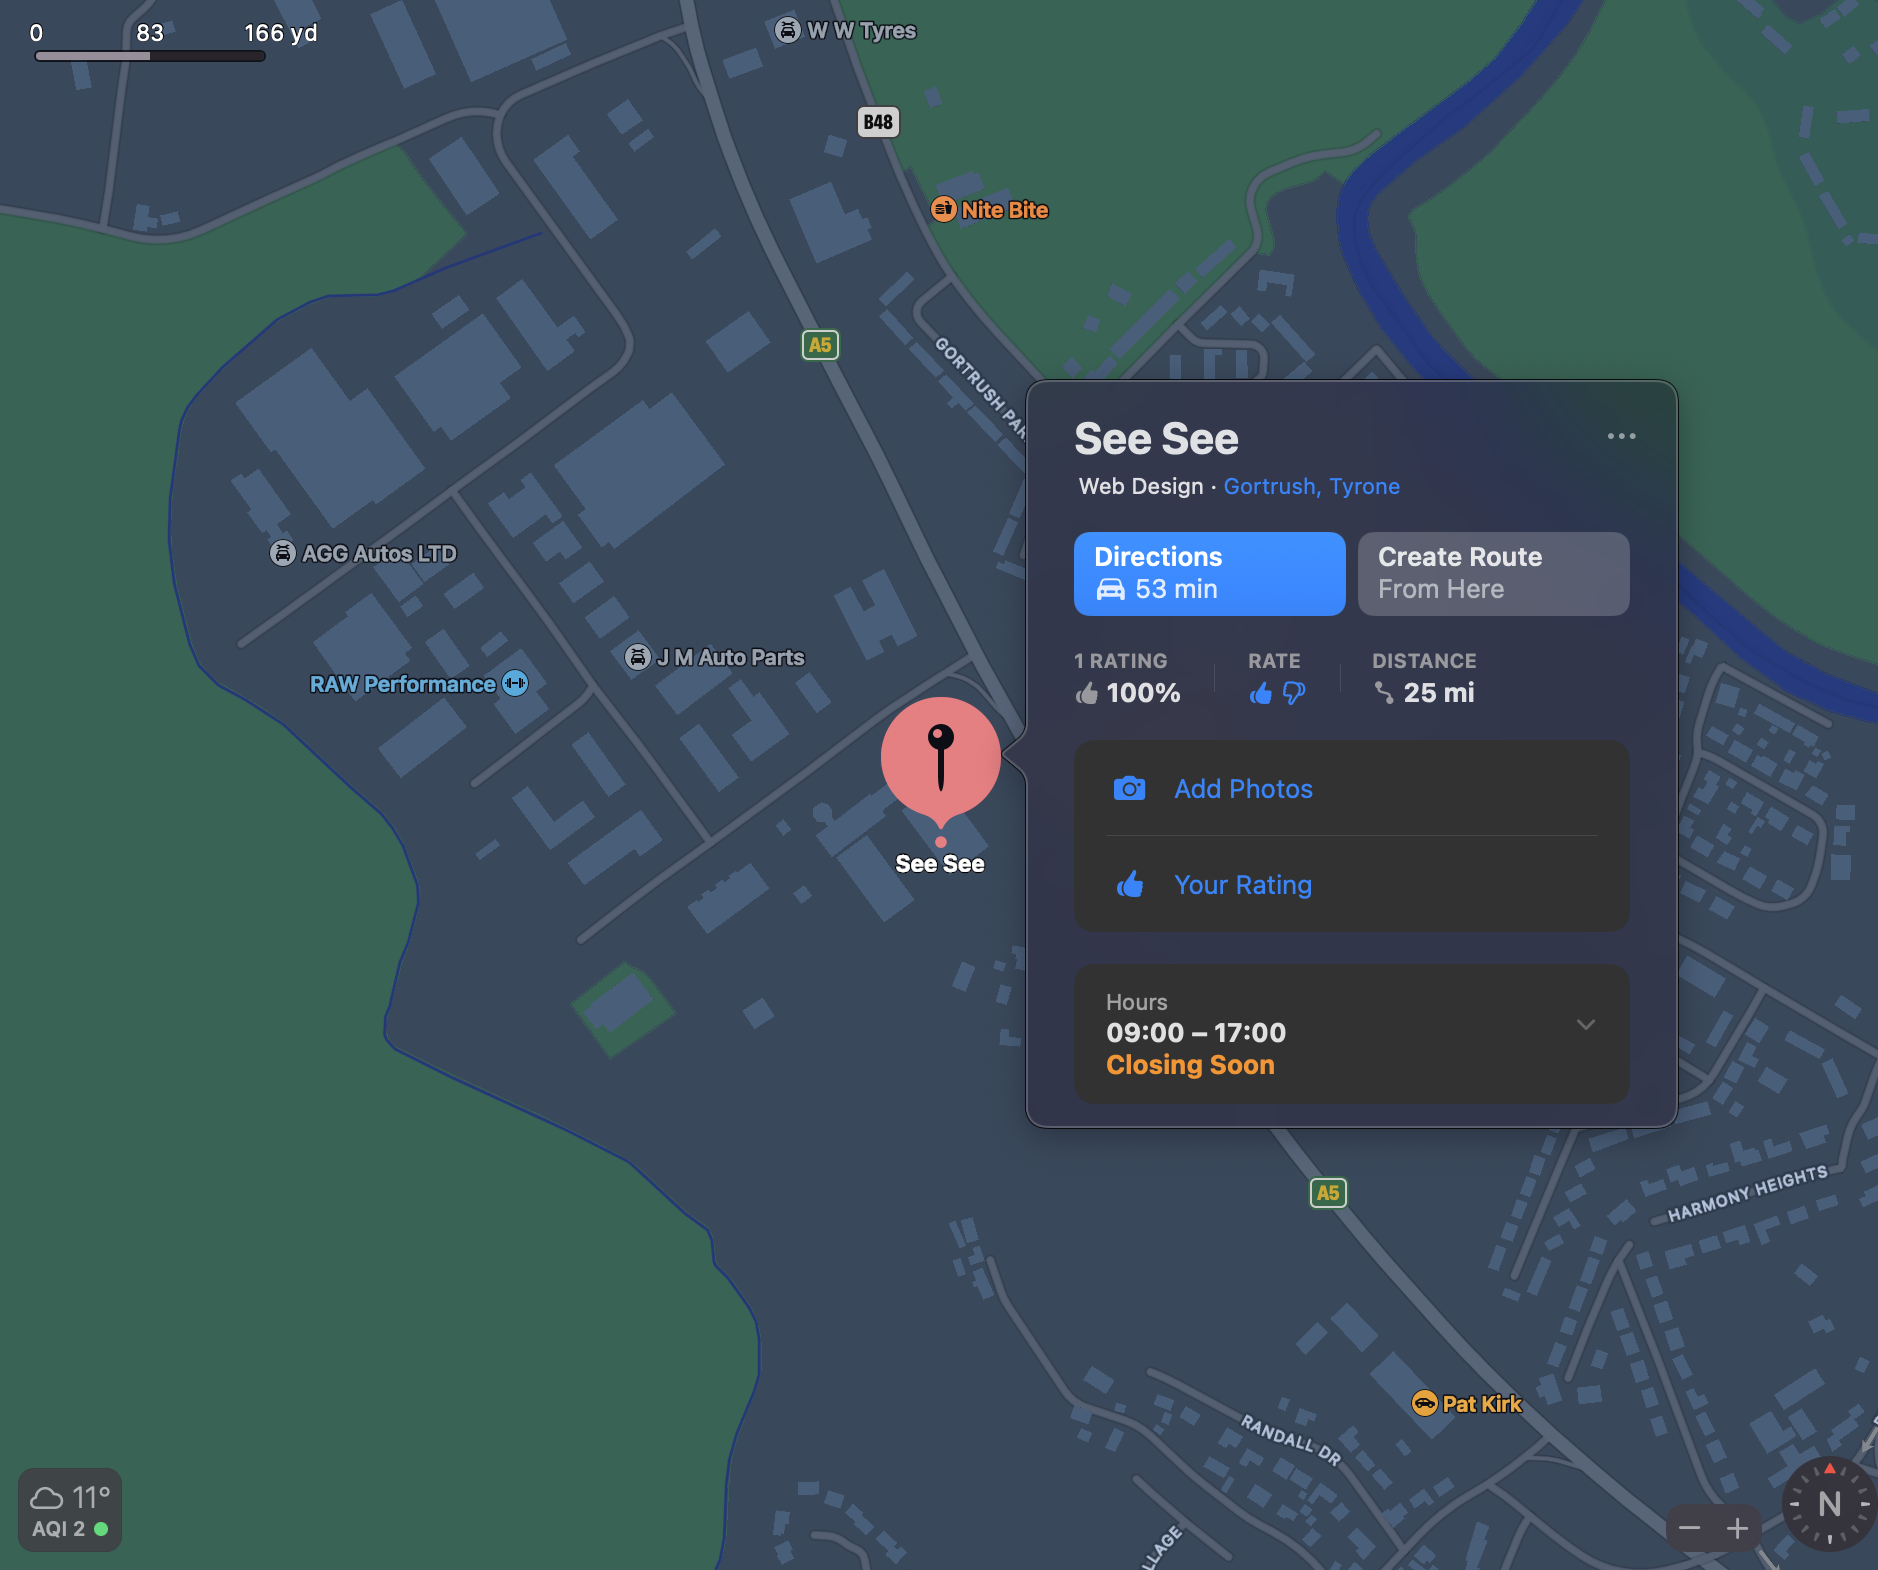
The default map system on an iPhone, iPad or Mac is Apple Maps and this is a great reason to claim your listing. One other thing to note is that if an Apple user asks Siri to search for a local business, it will search via Apple Maps for the information.
Let’s get started on how to claim your business listing.
1. Search For Your Business On Apple Maps

First of all, we need to check if your business exists within Apple Maps already.
Visit: https://register.apple.com/placesonmaps/
Sometimes your business may already be listed and this is due to Apple pulling information from different sources. If your business listing already appears in the dropdown, press the claim button and you can update and maintain the listing.
If your business is not showing up, click “+ Add a missing place”
2. Sign In With Your Apple ID
The next step to help you set up or claim your business on Apple Maps will be for you to sign in with an Apple ID. Unfortunately, there is no other way around this if you don’t have one. You can create a brand new one to help you continue the process.
3. Add Your Business Details

Enter your business details, add your website link, telephone number and address and click next.
4. Verify Your Phone Number
After you enter your telephone number and press next, you will receive a phone call from an automated phone system. You will be given a 4 digit code to enter

5. Update Your Listings Details
After you have verified and claimed your listing, you can update all of your details including your business hours, address, phone number or website link.
Bonus tip, in the ‘place details’ section, you can order Apple Pay decals which you can stick on your shop front to let customers know you accept Apple Pay.

That’s it, you’re done and your business should be visible in Apple Maps within the next few days. One thing to note about Apple Maps is that it currently does not have its own review system like google but it can pull in reviews from other sources such as Yelp.